
Generating Gems With Arrays and Loops
Part 6 of Ground Zero: Programming from the Ground Up
Last updated on August 7, 2026
A lesson on arrays, loops, and debugging.
Arrays
In the previous video, we manually created a 2 by 2 grid of one type of gem. We could use the same strategy for the entire 8 by 8 grid of different gems, but there's a much more efficient way: using arrays and loops. We'll start with looking at arrays and use them to reference all of our gem prefabs, rather than just storing one like we do right now. We'll also cover errors, debugging, and some helpful resources.
An array is a type of data just like int, bool, and string are data types, but they are used to store multiple items of one type of data. For example, an int array stores a certain number of integers, while a string array stores a certain number of strings. You may have an array of integers to represent how many days are in each month. The array would have a length of 12, and each item in the array would be how many days are in that particular month, like 28, 30, or 31. You might also have a string array to store the name of each month, starting with “January”, and ending with “December”.
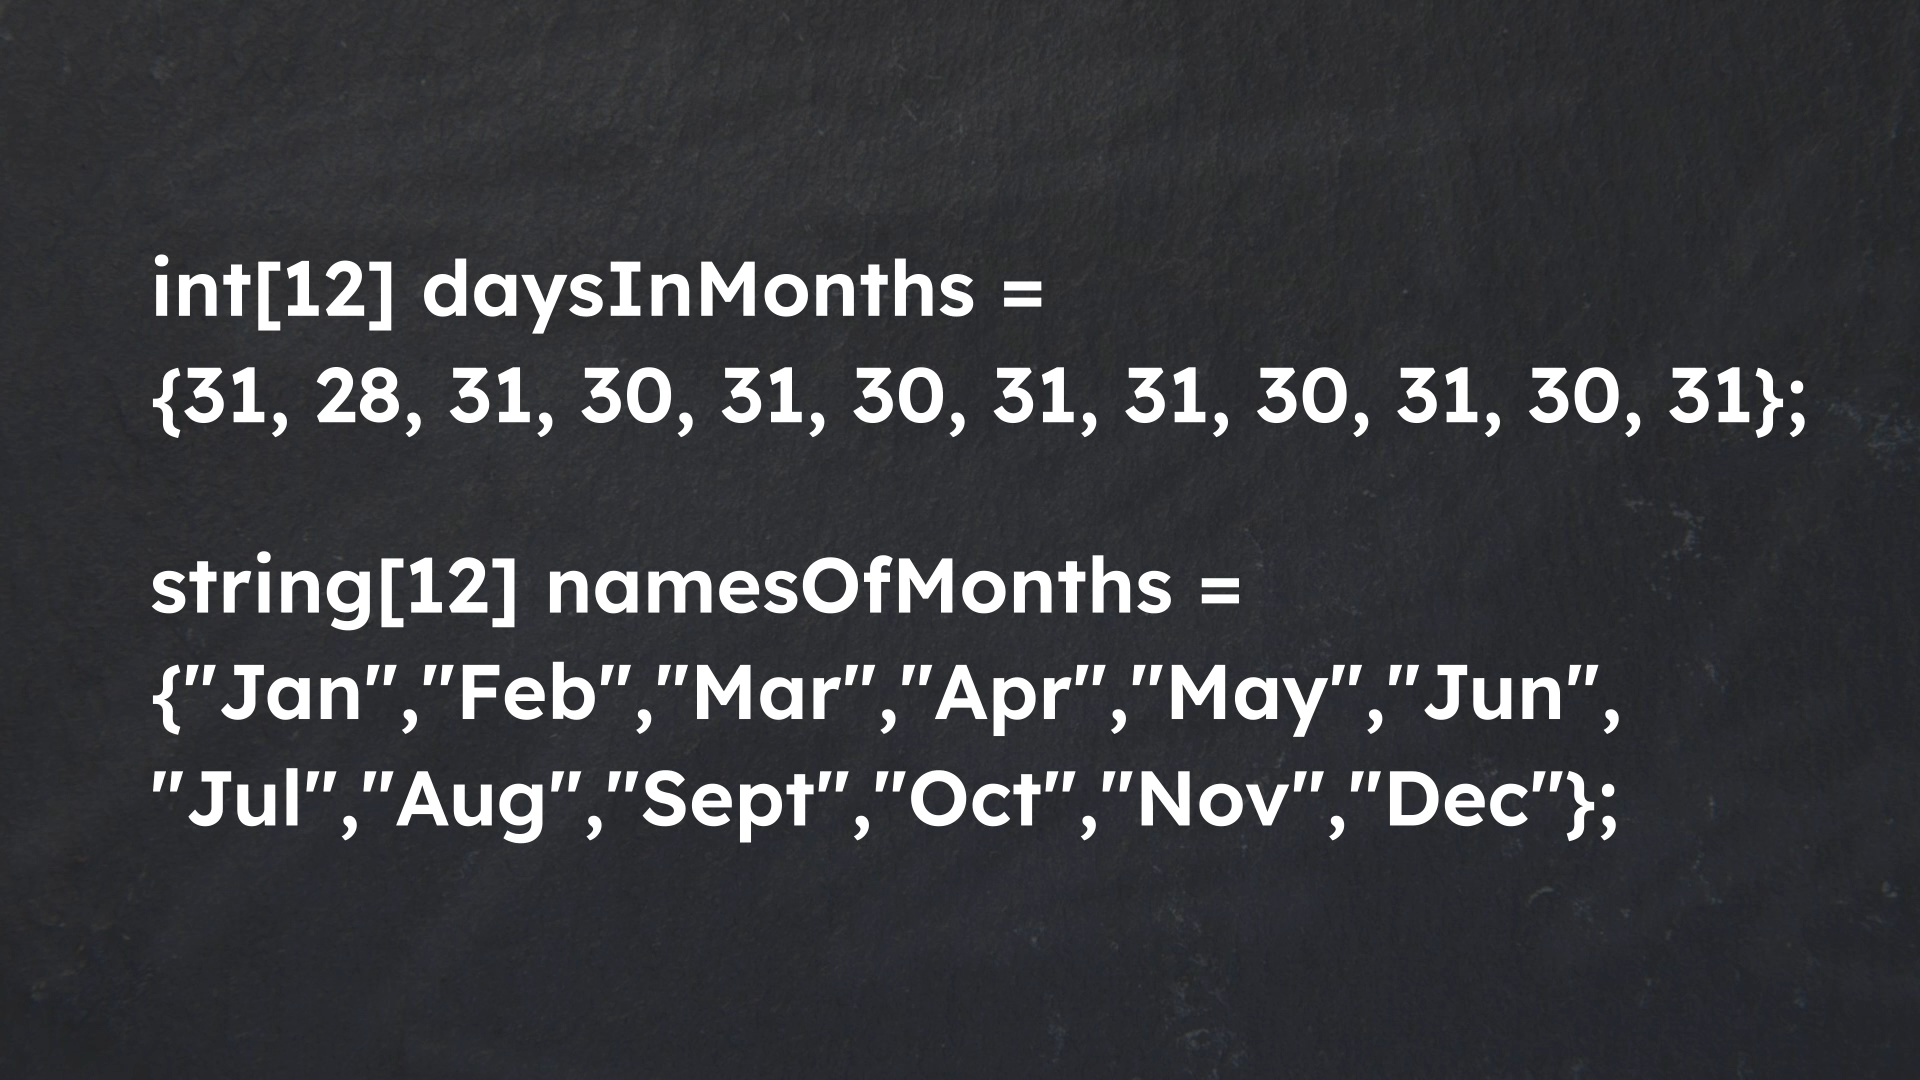
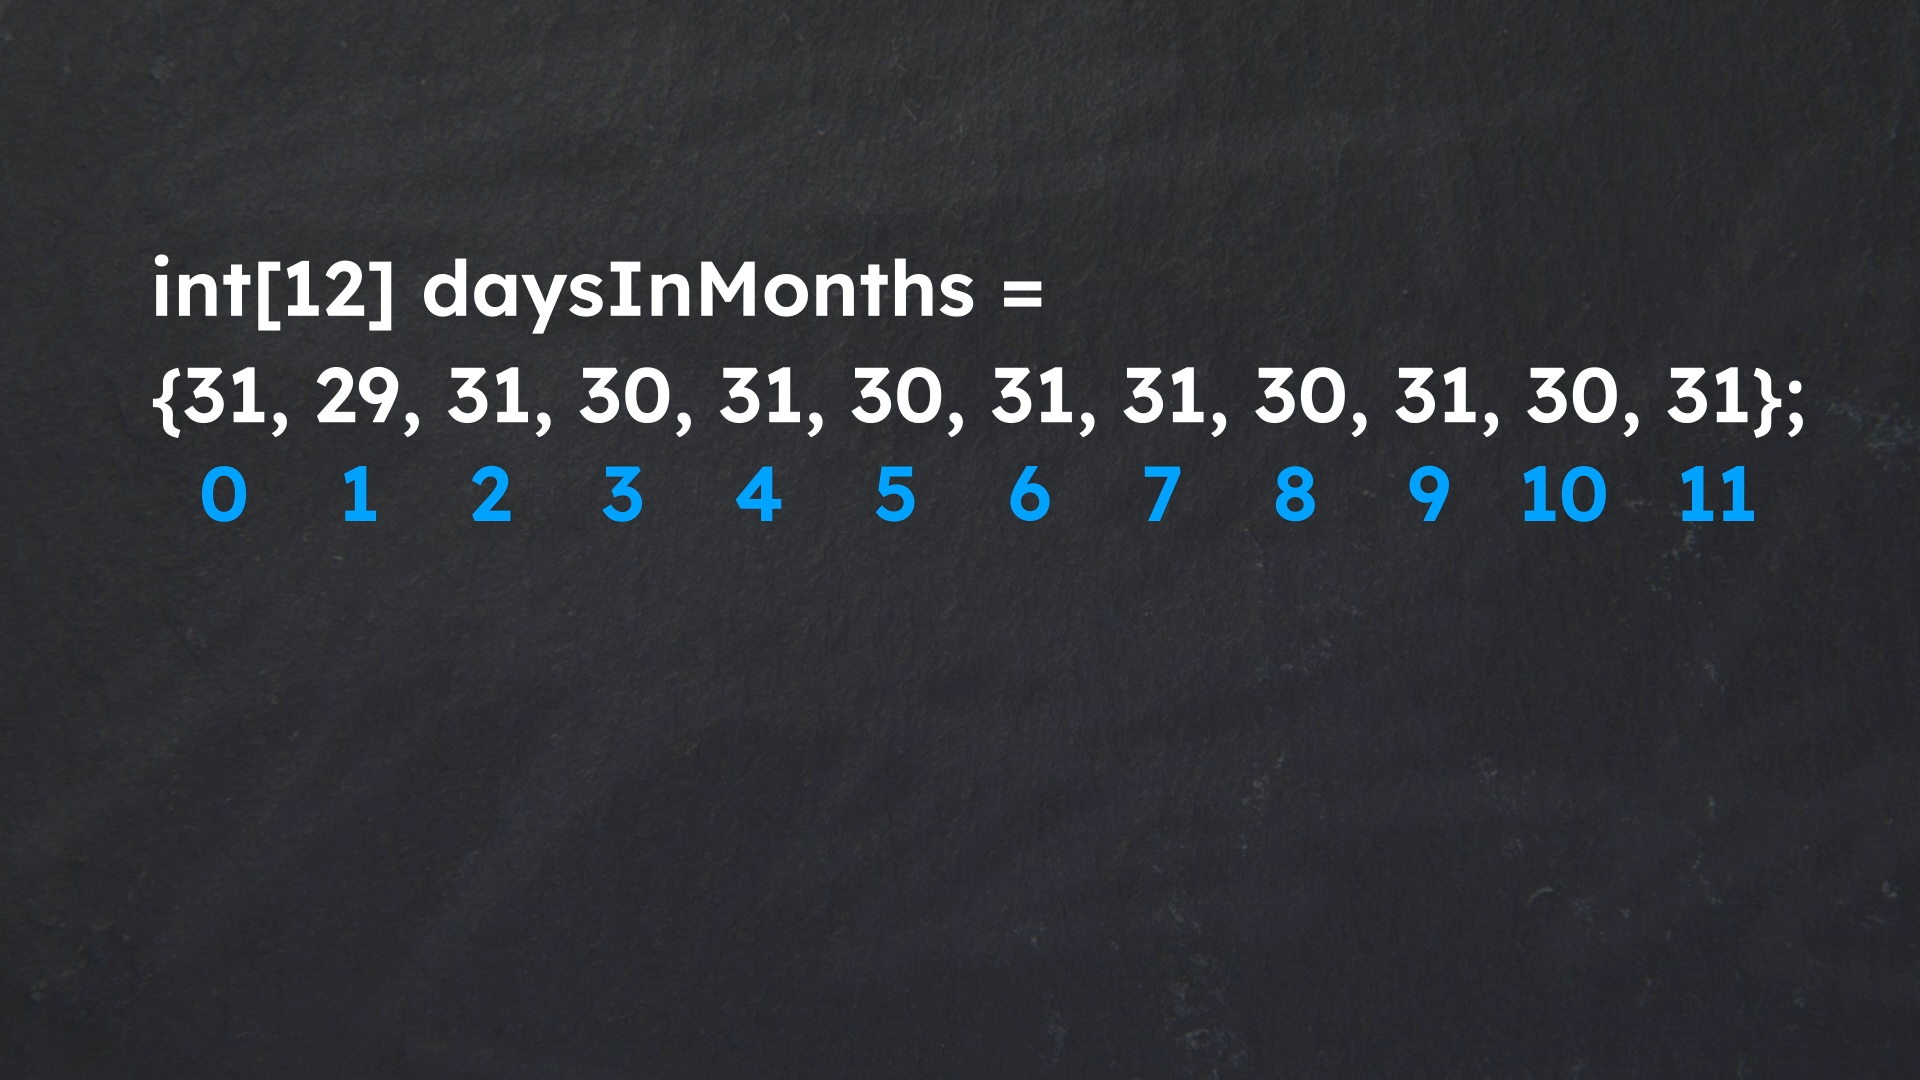
You can change what is in an array (like updating February to have 29 days during leap year), but you can't add or remove items or elements from the array. In other words, arrays have fixed sizes. They are good for storing a collection of items that you know will be fixed in size, like something based on the number of months. Items in an array can be accessed with an index number, but we'll discuss that later in the video.
Using Arrays in the Game
For our match-three game, an array is perfect for storing our gem prefabs. There will only ever be 7 types of gems (a fixed size), so we can use an array to store them. We'll start using arrays by changing our gem prefab variable to be an array of prefabs. To have an array as a type, you need the type of data in the array (GameObject), and then an empty set of square brackets:
Now that we've changed the variable's type, let's change the name, since it's no longer a single prefab. When you are renaming a variable or function in VS Code, you can right click on the variable name and then click “Rename Symbol” in the menu that pops up. Type in a new name (_gemPrefabs) and then press enter. Anywhere that specific variable is referenced will now use the new name.
Errors, Debugging, and Helpful Resources
Now that we've changed the type and name, you will see red lines under the word “Instantiate” everywhere you are calling the function. Remember from the previous video that you pass in a single prefab to instantiate (like a GameObject). In this case, we are now passing in a whole array of prefabs, instead of just one. Because of that, we now have a syntax error, which is a problem in the code's syntax or grammar.
Syntax errors are similar to when you get a colored underline in Microsoft Word or Google Docs because you misspelled something or are using incorrect grammar. If you hover your mouse over the word or words causing a syntax error, you'll see a message explaining what's going on. In this case, it's basically saying that Instantiate is expecting an object as a first input or argument, rather than the array of objects we are now giving it.
If we go over to Unity, we'll also see the error message pop up in the console window. There are two main kinds of errors we'll deal with: syntax errors and runtime errors. Syntax errors prevent the code from being compiled (turned into a format the computer can run). Runtime errors, however, are errors that occur while playing the game, like trying to change something in an array that doesn't exist. These will show up in the console, but they won't be underlined in VS Code like syntax errors are.
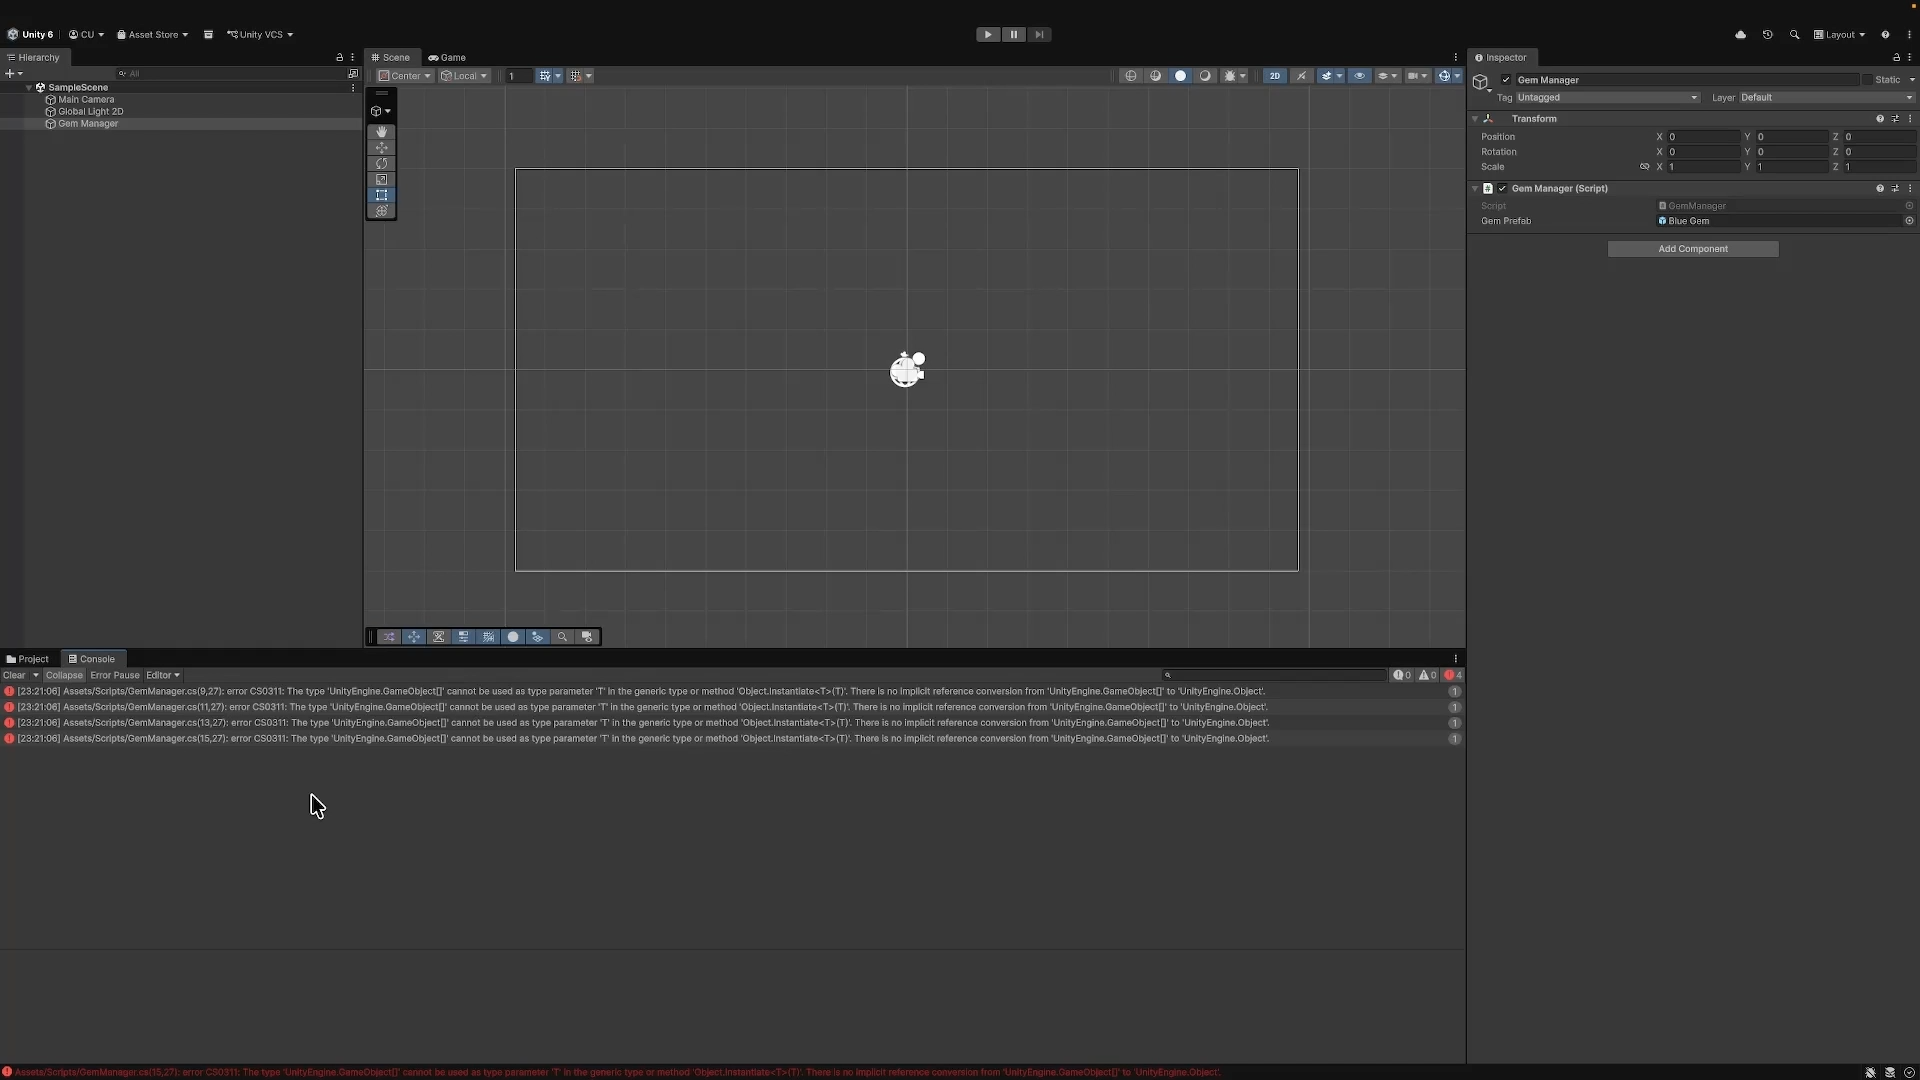
Thankfully, though, the console window tells you what part of the code is likely causing the error. It gives us the file name and line number. From there we can start figuring out what happened. In this case though, we already know the problem. Usually when debugging or problem solving, wherever the error message is coming from is the first place you look.
Some error messages are easy to understand, but others may be more confusing. Thankfully, there are great resources out there detailing why many errors are caused and how to fix them. StackExchange, StackOverflow, and the Unity forums are great places to look. I'll put links to them in the description.
Array Indexes
Now that we've talked about error messages and problem solving in general, let's get back to our own problem. Previously we only had a reference to one gem prefab. Now that we have a reference to all of them, and Instantiate can only take one of them, we need to decide which gem prefab to pick. That's where indexes come in. Each item in an array has an index that specifies where that item is in the array. The first element starts at index 0. The second is at index 1, and so on until the last element is at an index of the array length minus 1.
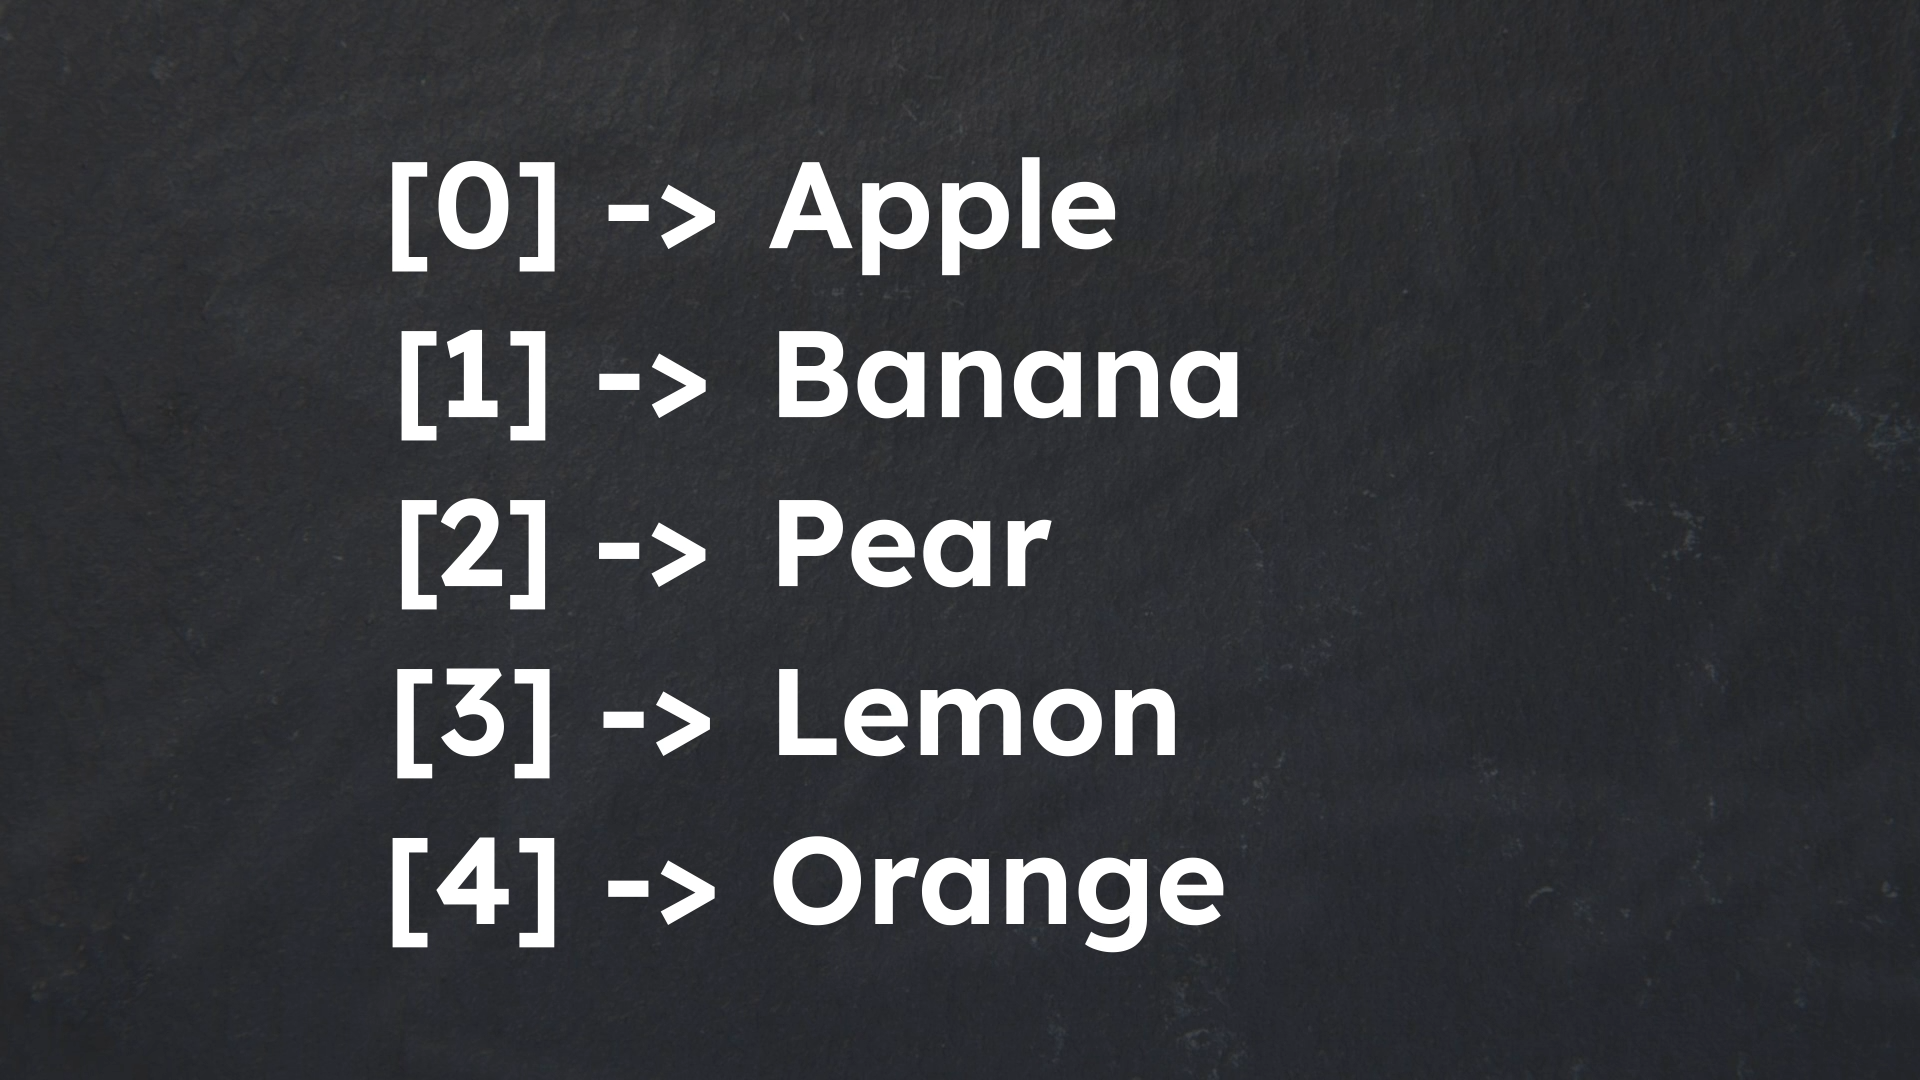
For example, if we go back to the array of month names, January is at index 0, February is at index 1, March is at index 2, and so on until December at index 11. While it may seem weird to start at index 0 instead of 1, there are reasons for it that go beyond the scope of this tutorial series, because it deals with how arrays are stored in your computer's memory. For now, just remember to start counting at 0 when dealing with positions of items in an array.
Let's start by just instantiating one of each of the first four prefabs in the array. To reference a specific item in the array, use square brackets and put the index you want inside of them. For example, _gemPrefabs[0] is the first prefab in the array.
Arrays in the Unity Inspector
If we go back to Unity, we should see that we no longer have those error messages in the console, and we should now have an array of gem prefabs visible in the inspector. The number shown is the size, which starts at 0, but you can set it to whatever you need. If you click the triangle arrow pointing right (at the name), you can expand the array to show everything in it. Before adding anything to it, press the play button.
Now you should see a runtime error appear in the console, saying something like “Index was outside the bounds of the array”. If you click on the message, it will tell you that the error came from line 9 of the GemManager class, which is when we say _gemPrefabs[0]. Because our array is empty at the moment, when trying to fetch the first item from the array the computer throws (or gives) an error. If we have an array of size 2 and we try getting the element at index 2 (which is the third element), there will also be an error. It's an out of bounds or out of range error because we are trying to access an element outside of the array's bounds or length.
To solve this issue, we need to assign the gem prefabs to the array in the Unity inspector. There are a few ways of doing so. First is to set the size of the array to 7, and then drag each gem prefab into a slot. It doesn't really matter the order. The second way is to leave the array size at 0 and then drag each prefab onto the name of the array. Notice the plus and minus buttons allow you to add or remove elements from the array in the inspector.
The third way is much quicker. With an empty array, click the lock button at the top of the inspector. That makes sure that if you click on a prefab, script, or other asset in the project window or hierarchy, the inspector won't change to show what you clicked on. Next, click on the blue gem prefab in the project window, hold shift, and click on the yellow gem prefab. Once they are all selected, drag them onto the prefab array's name to add all of them at once. Make sure to unlock the inspector by pressing the lock icon again. Reselect the gem manager in the hierarchy to show it in the inspector. Now if you press the play button, it should show the first four gems in the array.
Random Numbers
Since we want a randomly generated grid of gems, we need some way of randomly selecting which index to use when creating a gem, rather than giving a specific index like we are doing right now. Thankfully, Unity has a Random class that makes it easy to generate random numbers. It can be used similarly to the Debug class's Log method. First, type the class name (Random), and then the method name (Range). This method has two versions: one for integers, and one for floats (numbers with decimal points).
The Range method generates a random number based on the range you give it. When dealing with floats, the method can return anything between and including the minimum and maximum values you give it. For the integer version, however, the maximum is exclusive, meaning the range does not include its value. If you set the range to 0, 7, you'll get a number from 0 to 6. We can use this to our advantage, since the maximum can just be set to the size of the array, and the highest possible value will be the last element (index 6).
Make sure to do the same thing for the other three gems. Now if you press play in Unity, you should see four random gems. Each time you stop and then press play again you should see a different result. Our code is looking rather long now, though, and we don't want to have to do this 60 more times. If we ever wanted to change something with it, we'd have to change it 64 times. That's where loops come in to make the generation process more efficient.
Repetition and While Loops
In most games, there is a lot of repetition. From environments to characters to the user interface (UI), many things are duplicated and a lot of things exist on the screen at once. It's tedious to try and track everything individually, so we use arrays to reference groups of elements. While we can manually run methods on each instance in an array (like we are doing to create gems right now), we can use loops to create gems or do other repetitive tasks more efficiently. There are multiple types of loops, but we will just look at “while” loops for now.
In general, a loop repeats a block of code until a certain condition is met. A while loop basically tells the computer: “while this condition is true, run this code over and over again”. For example, you can use them to print or log every number from 1 to 5 in the console, or print “pressed” while the mouse is pressed. In our case, we want to generate a grid of gems, starting from the bottom left and going to the top right. We'll start out with a loop to generate the bottom row by looping through each column.
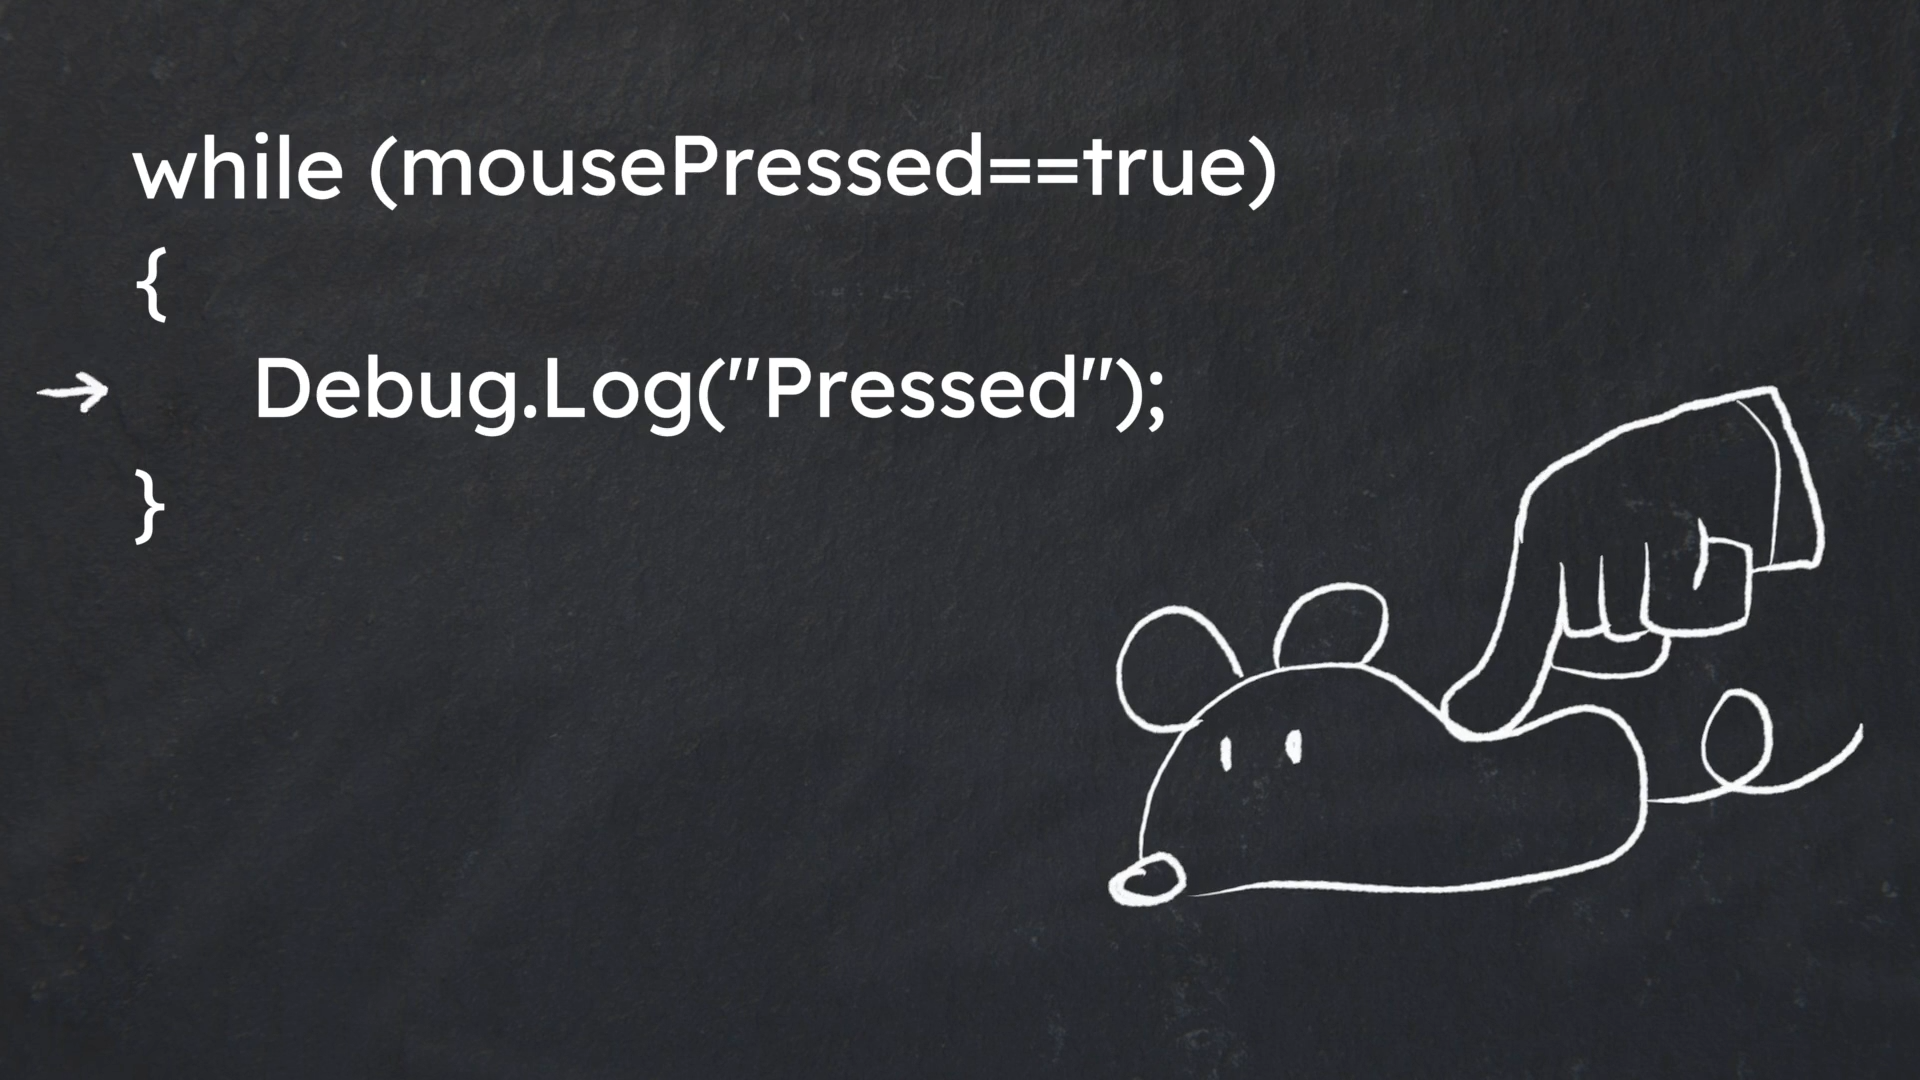
To create a while loop, first type the “while” keyword, a set of parentheses, and then a set of curly brackets. Inside the parentheses is the code telling the loop under what condition it can run. You can start by declaring a variable before the loop to track where in the loop you are, then a condition in the parentheses based on that variable, and finally changing the variable by a certain amount. In this case, we'll create a variable called x and loop until we reach the number of columns (8), increasing the x position by one each time.
You create the x variable similar to other variables, with a data type, name, and initial value. The loop condition is to loop as long as x < 8. Once x reaches 7, the loop stops. There are a few ways of increasing (or incrementing) x. We can say x = x + 1, which will add 1 to x, or we can do the shorthand of x += 1, or we can even do the shorthand of x++, since we are just adding 1. If we add or subtract more than one, we have to use += or -= instead of ++ or --.
Notice the dots under the equals sign in x = x + 1. If you hover your cursor over it, VS Code will tell you that you can use x++ instead. VS Code gives many hints like it to improve your code. If you click “Quick Fix” while VS Code is giving you an error or hint message, there are sometimes options like “use compound assignment”, which will switch our code to use x++ instead of x = x + 1.
Next, we need to add the code to run inside the loop block. Between the curly brackets (but before x++), place the same code we had to generate one gem, then get rid of the old code. We can also change the name gem1 to just gem. We want to increment x after everything else so that we don't modify a value of x until we use it.
So far this is great…except it will create 8 gems all in the same position. Let's start by setting the y value to 0 and then setting the x value to the x variable.
If you press play in Unity, you should see 8 randomly generated gems, all in a row. Now we need to generate the rest of the rows. While we could have 7 more of these while loops to create a row at different y positions, it's more efficient to have nested while loops. The outer while loop will loop through the rows (y position), and the inner while loop will loop through the columns (x position). Also, now that we have an x and a y value, we can use both when setting the gem's position.
You should now see a grid of gems. Because of how we are positioning the gems right now, some of them will be offscreen, because the camera can't see them. If you click on the scene view, however, you should be able to move the view around and see all of them. You can pan or move the view by holding the middle mouse button and moving the mouse around, or by selecting the hand / pan tool on the left and then pressing the left mouse button and moving around. You can zoom in or out by scrolling up or down.
There are further improvements that can be made, but we'll deal with those in the next video. I will give you a quick challenge for now, though. Our gem instantiation line is rather long, so try creating a new variable for the random index and use that instead. That way, selecting which prefab to use happens on a separate line than instantiating it. Also use autocomplete to investigate the different things the Random class can do. Until next time, God bless, and loop through this video for a few iterations if need be. Feel free to ask any questions in the comments as well.