
Opening Unity and Creating Gems
Part 3 of Ground Zero: Programming from the Ground Up
Last updated on June 20, 2026
An introduction to the Unity game engine and the creation of basic gems as GameObjects and prefabs.
A Shift in Perspective
It's easy to see the massive mountain that is game development and think “I'll never make it to the top”. There are so many games with breathtaking visuals, stunning sound tracks, stories that easily pull you into the world, and mechanics so fine-tuned that even just character movement is enjoyable. The sheer amount of work that goes into these kinds of games is mind-blowing, especially when you look at the seemingly never-ending credits. There's also an incredible programming effort to make these games, filled with so many complicated systems that all have to interact well to create the beautiful experience you play through.
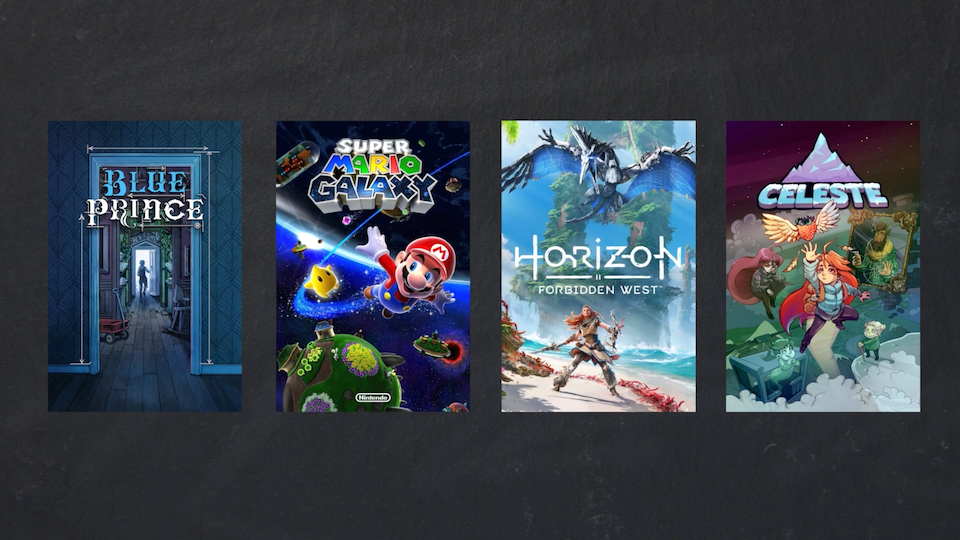
When we see game development and programming from that perspective, it's easy to get lost in wonder and then shift straight into anxiety and feeling like you can't program or make games. “It's too complicated” or “There's too much to learn” and other doubts like these tend to pop up. However, we need to take a step back and shift our perspective. Instead of looking at the whole mountain, focus on the first steps up it. The people behind these massive AAA games (AAA meaning really, really high budget) have often spent many years developing their skills and gaining experience. They all had to start somewhere, and probably somewhere similar to where you are.
No one is born ready to program, draw, compose, write, etc. These are all skills learned over time. We are indeed all gifted with different skills, and some come easier than others based on your gifts, but you'll never know if you never try. It's not only about the end results, because the process is important and rewarding too. The tremendous effort put into quality games is a large part of why they do so well, and it makes the end result all the more spectacular.

Think of it this way: What's more rewarding? Seeing the view from the top of a mountain after being dropped off by a helicopter, or seeing the view from the top of a mountain after spending all day climbing it? Probably the view after climbing for a whole day and having fun experiences along the way, like exploring a cave with friends. Or, picture this: a button you can click to skip to the final cutscene and win screen in a game. That would probably be more disappointing than enjoyable, and you would miss out on so many important moments to get there.

If we see game development from this perspective, we can celebrate when the game is finished (and milestones along the way), rather than focusing on downloads and sales. That also means we don't have to worry about the whole picture, but we can take the process one step at a time, even if that means starting from ground zero where you know nothing about making games or programming.

Just like with any skill, it will take a long time to become great at game development, but it's a rewarding journey and you will learn so much along the way. Same with programming, which is only a part of game development. On this journey, we'll start with the very basics of the Unity game engine and C#.
Getting Started
The first practical step for making this match-three game is downloading the Unity game engine. It's the main app we'll use to make the game, and it's basically just a bunch of tools to put together code, art, sound, and whatever else our game needs, similar to other game engines like Godot or Unreal.
There are multiple versions of Unity, so Unity created an app called Unity Hub that allows you to manage what versions you have installed and create or open projects. You can download the Unity Hub from their website at: https://unity.com/download. You'll have to make a free account to download it, and when you do make sure you select a personal license, which will allow you to use it for free.
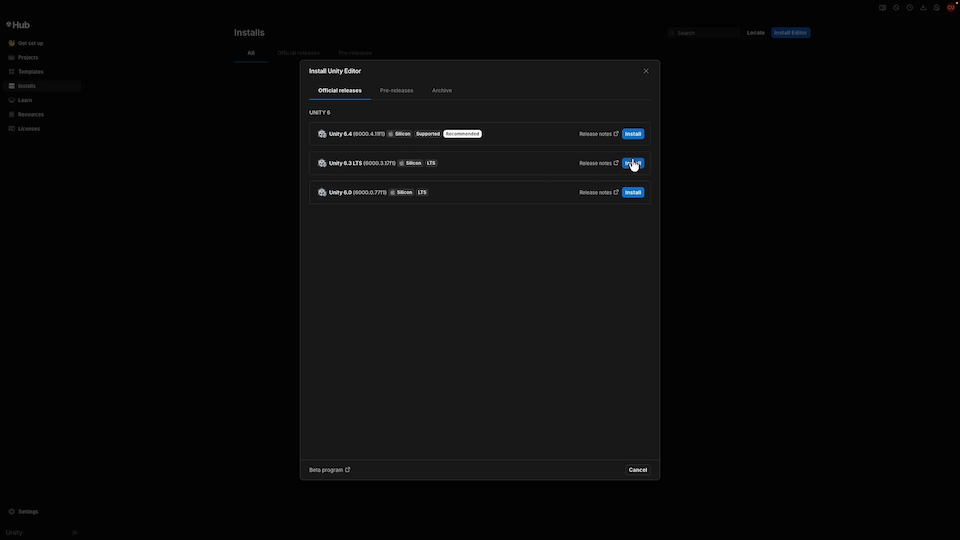
After you have signed into the Unity Hub and chosen your license, you'll need to download the Unity Editor itself, which is the game engine we'll use to make the game. There will be a menu in the Unity Hub to install an editor version. I usually just install whatever the latest version is, but you will likely have less bugs / problems with Unity if you install an LTS version (LTS meaning long term support).
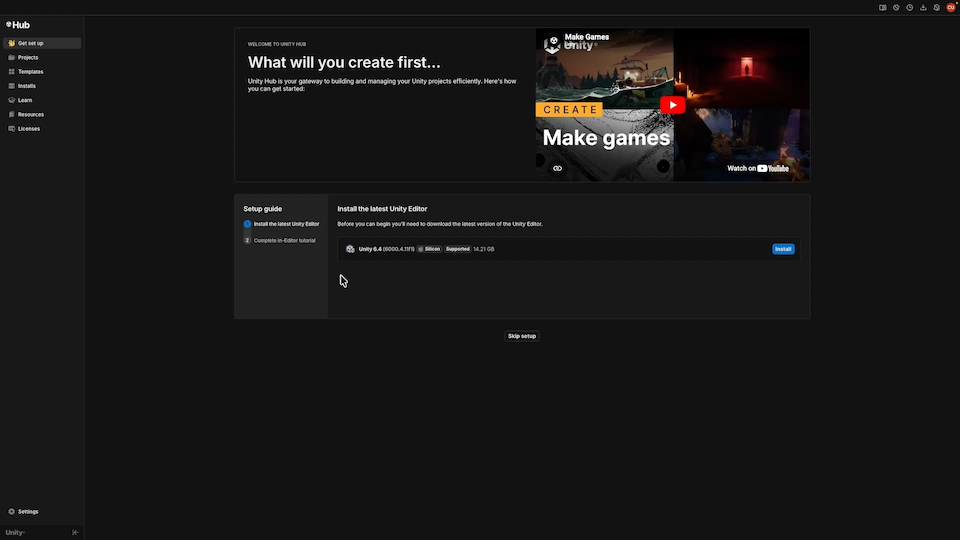
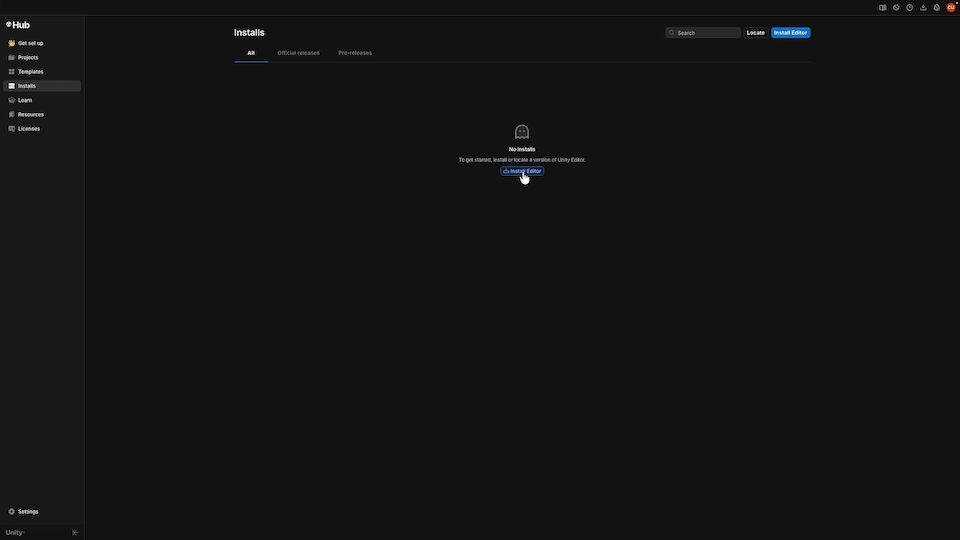
Click on the “Installs” tab, then click “Install Editor”.
Find the latest LTS version and click “Install”.
Make sure the box next to “Visual Studio Code” near the top is checked. That's the app we'll use to write the game's code. You shouldn't need any other boxes checked at the moment.
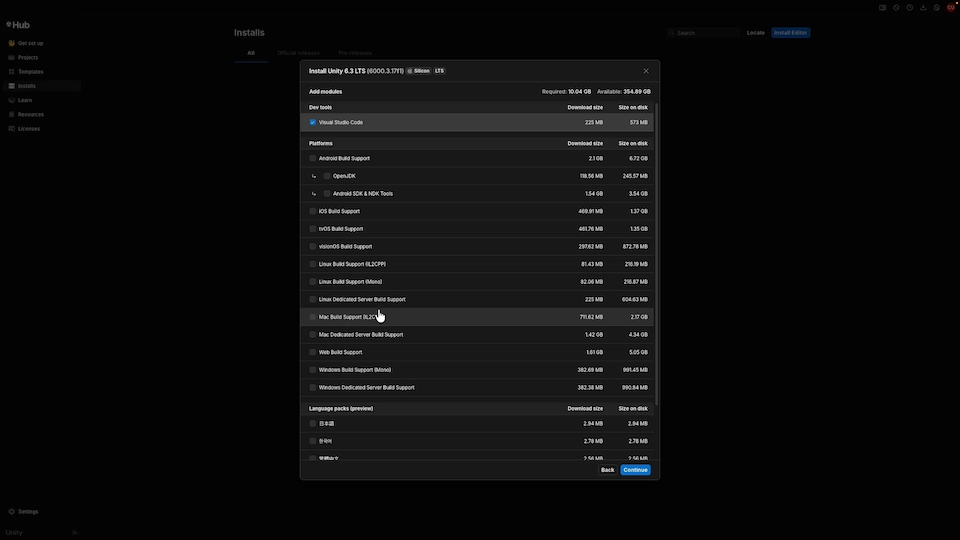
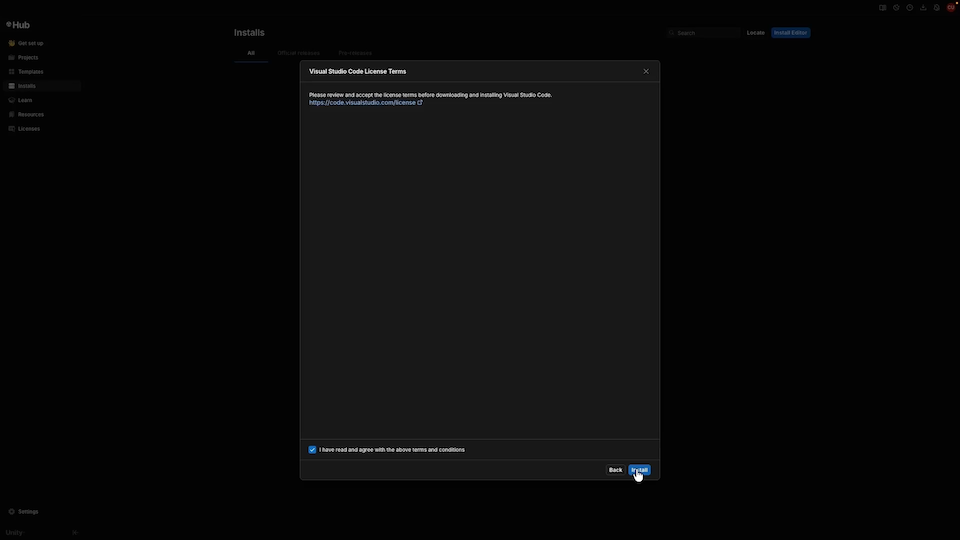
You'll need to accept VS Code's license to continue, and then you can install the Unity editor.
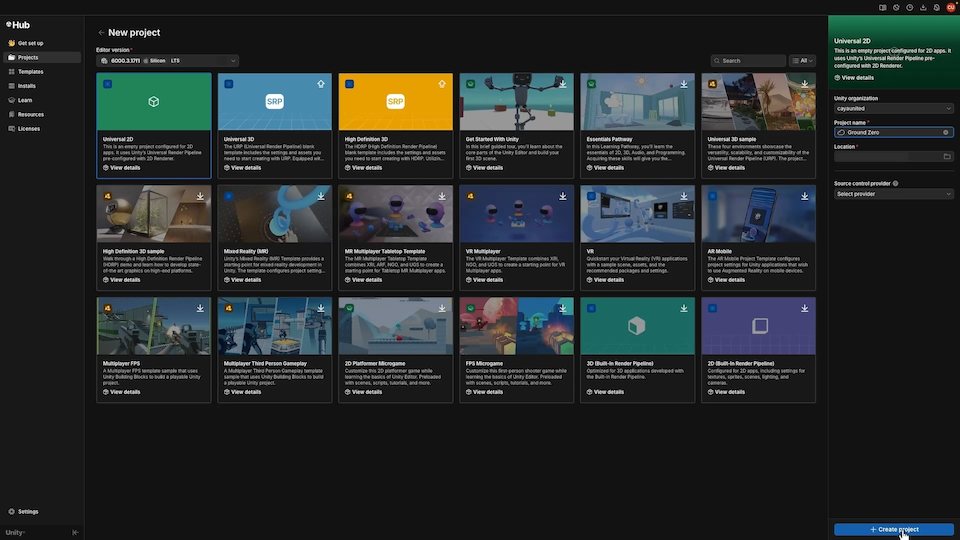
Once you have the editor installed, you can create a new project. Click on the “Projects” tab, then click “New Project”. Unity has a lot of helpful templates to start your game project with, but we'll just go with the “Universal 2D” template, which is the most basic for the 2D game we'll make. Choose a name for your project and location on your computer, then click the create button.
Unity Basics
Once Unity is done setting up the project, you should see the editor open with your brand new project. There may seem like a lot of things on the screen (and trust me, there are), but we'll take it step by step like I said earlier. Let's first talk about what a game is made of in Unity. Assets are the different files that make up your game. They can be scenes, artwork (sprites, textures, materials), music or sounds (audio clips), fonts, data about different parts of the game, the actual code (scripts), etc.

One of the most fundamental concepts is the GameObject, which combines these assets together to represent pretty much anything in the game: a character, a part of the environment, equipment for the characters, a camera, a light source, etc. For example, your character likely uses a sprite for visuals, sound effects for things like jumping or taking damage, and scripts to make the player respond to input. GameObjects use Components to bring these assets together.
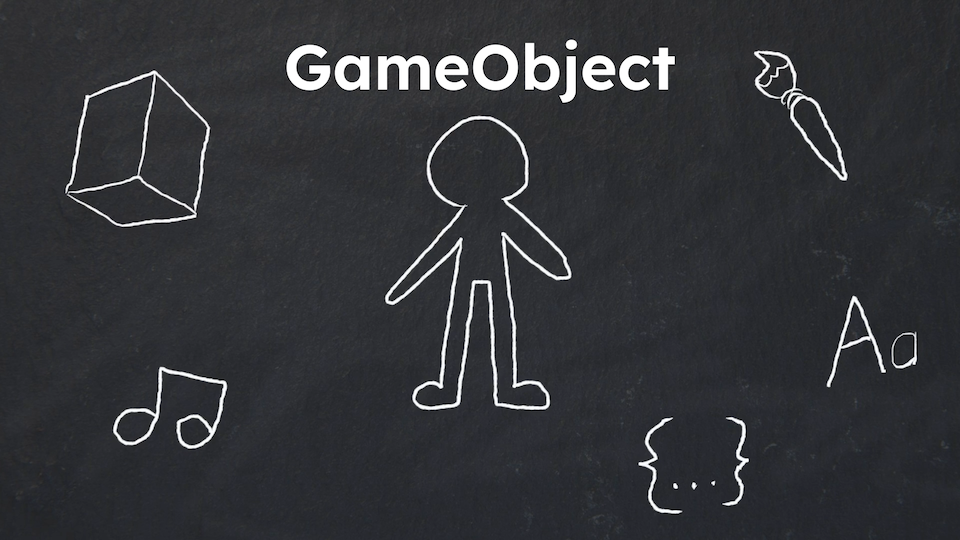
Each GameObject is made of one or more components. These components can all do different things. For example, the Transform component determines the position, rotation, and scale of the GameObject. Every GameObject has a Transform component, and can have other components as well. There are also components for drawing images, playing audio clips, handling physics, and more.
Not only are there a lot of built-in components, but you can also make custom components. That's where the programming part comes in. Scripts are the files used by Unity for anything code related, and they are all written in C#. We'll save C# and programming for later lessons, though.
All of these GameObjects live inside scenes, which are also assets, used to split your game into large chunks. These chunks allow you to load in only what parts of the game you need, when you need it. They also split your game into smaller pieces that are easier to work with. Depending on what game you make, you may have a scene for each level, a scene for each room, a scene that's just the main menu, etc.
Now that we've covered the basics, let's talk about the different windows that make up the Unity editor and allow you to interact with the assets, scenes, and GameObjects. The editor itself is made of several windows. You can open or close them and move them around however you want. By default, there is a project window, scene view, game view, hierarchy, inspector, and console. While there are a lot of windows, these are the ones we'll focus on for now.
The project window shows all the folders and assets you have. The scene view shows what the GameObjects in your scene look like and where they are relative to each other. The game view shows what the game actually looks like, from the perspective of the camera. The hierarchy window lists all these GameObjects and allows you to select them to view. The inspector shows all the details about the GameObject you have selected, like what components it has. You can often hover over elements in the inspector to see a tooltip explaining what something does. The console shows any errors or messages generated by the code.
Creating the Gems
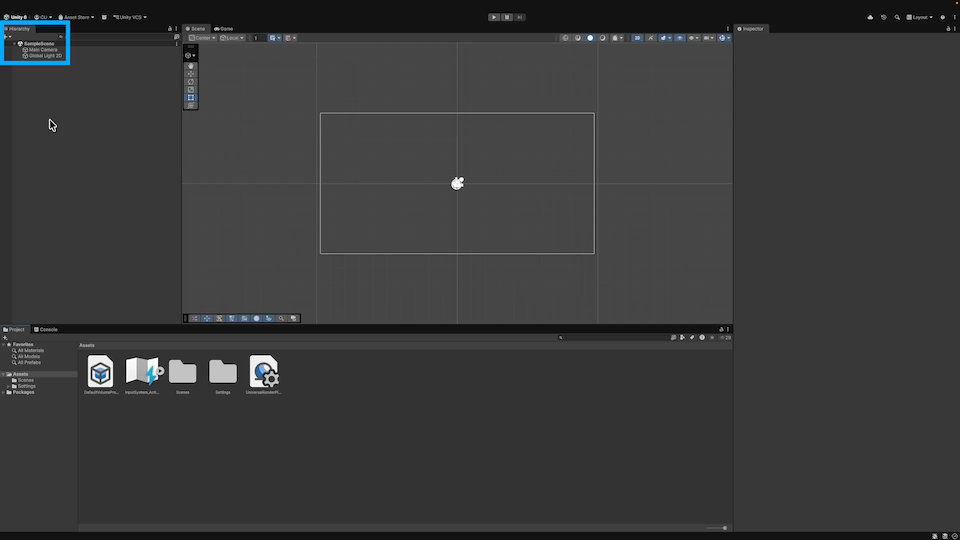
Let's take a look at what we already have in our scene. In the hierarchy, it shows a “Main Camera” and “Global Light 2D”. These are the two starting GameObjects for the “Universal 2D” project template we selected earlier. If we try creating a new scene (File - New Scene), then we'll see other scene templates as well. However, the scene we already have is fine to start with.
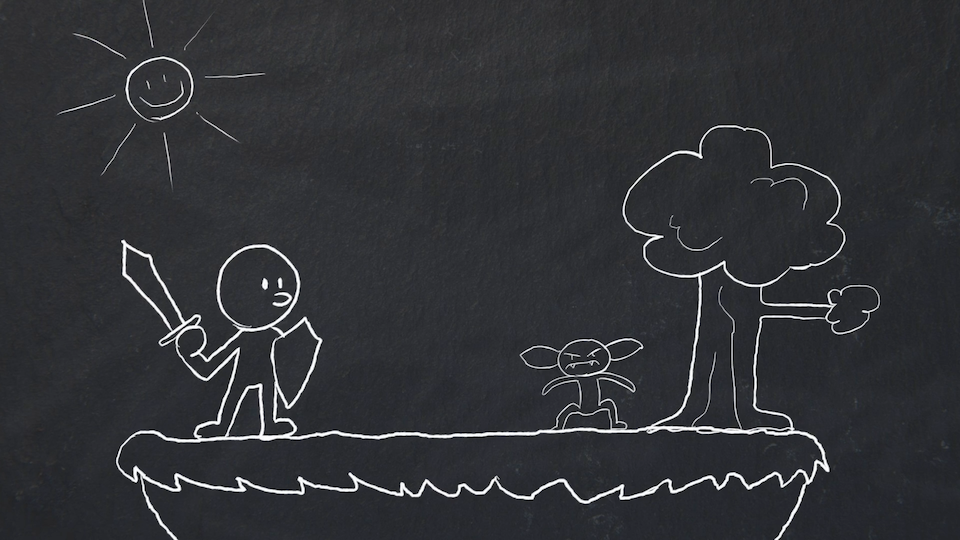
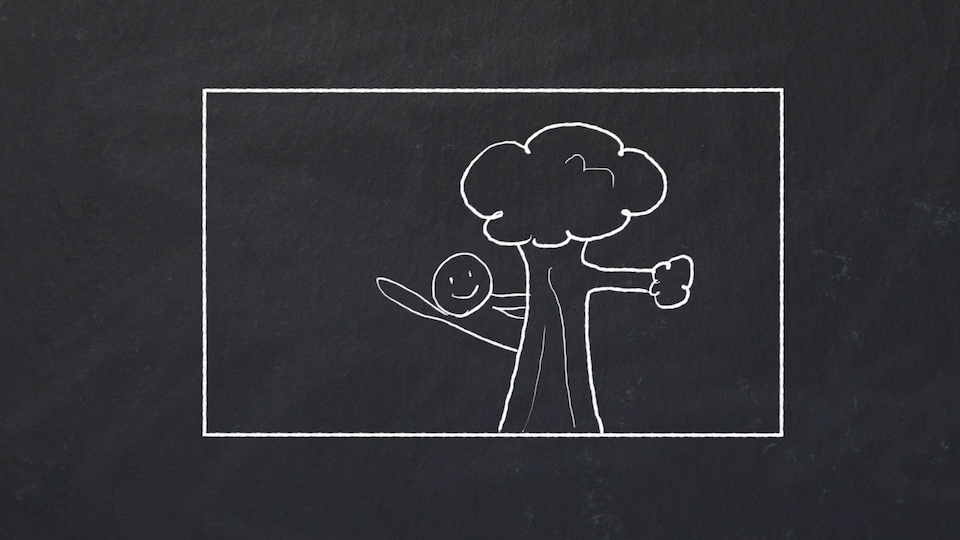
Each game you make is going to have at least one camera. Cameras in Unity can be thought of like real-life cameras: Objects are only visible when they are in front of the camera, and only if there aren't other objects in the way of the camera seeing them. Cameras can be used for different purposes. For example, some may be a camera attached to a player, like in a first-person game. Others may follow a player or players around, like in a third-person game. Cameras can also be used to just show an environment with no players. In our game, we'll just have this one camera.
Games also usually have lights in them. In our case, we don't actually need a light, but for simplicity we'll keep the global light we have. Global lights are used to light everything. There are other kinds of lights too, but we won't need or cover them in this series. For now, we don't need to change anything about the camera, and we won't need to change anything about the light for our game.
Now that we've covered the camera and light, let's create our own GameObject. Although our game is going to be small, there will still be a lot of GameObjects. We'll start by making a gem, the most fundamental object of a gem-themed match-three game.
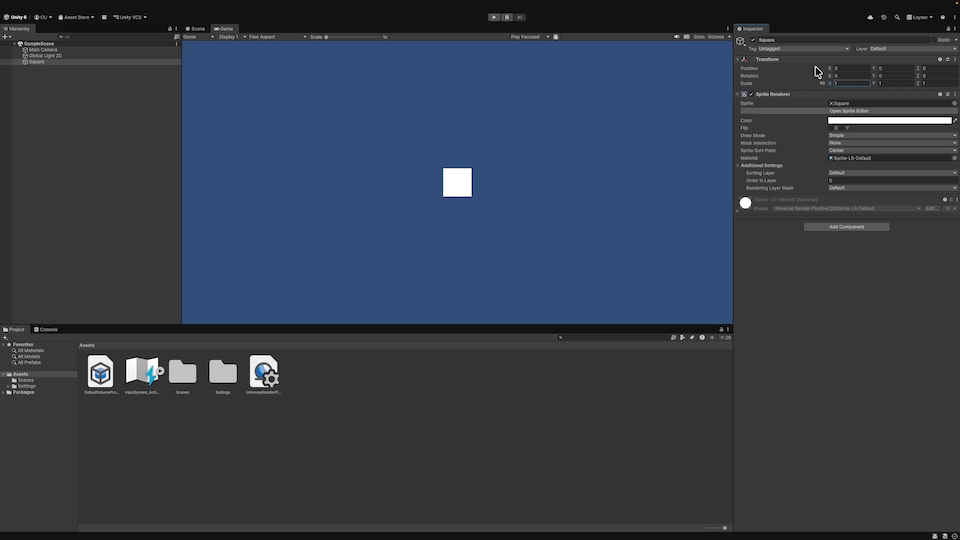
Right click in the hierarchy, then select “2D Object”, “Sprites”, and finally “Square” to create a square gem. Looking in the inspector, we can see the details of our new GameObject. It's got a name, transform, and sprite renderer. Let's change the name to “Gem”. The transform component is rather simple, and it only has three fields: position, rotation, and scale.
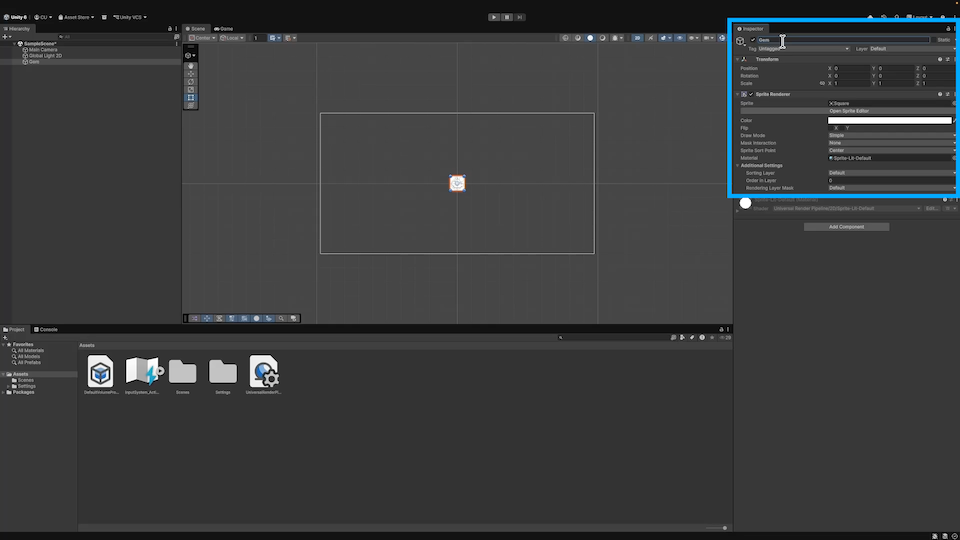
Position determines where an object is at in the world. Rotation is how the object is angled in different axes, and the scale is how much the object is scaled up or down in size. Since we are making a 2D game, we only need the X and Y axes of the position, Z axis of the rotation, and X and Y axes of the scale. Feel free to change these and see how it affects the square on the screen.
Sprite renderers have a few more fields than a transform does. The first is the sprite (or image) it's supposed to render (or draw). If we click on the small dot and circle icon, we'll see a list of different sprites that we can choose from. If we click on the name of the sprite, we'll see where it's at in the project window. If you lost track of our gem, click on “Gem” in the hierarchy and you'll see it showing in the inspector again. For now, we'll ignore the “Open Sprite Editor” button.
The next field is the color, which determines what color the renderer will tint our sprite. If you don't want the sprite to be tinted a certain color, then keep this at white. However, you can click on the white color and select a different color. This works best with images that are already white. Also, you can change the alpha (A) value to make sprites more or less transparent. There are several other fields on a sprite renderer, but we can ignore those.
Now that we've created our first gem, let's create 6 more. Ideally, they will all have different shapes and colors. For now, though, some will have the same shape. We'll use prefabs here, one for each gem. Prefabs in Unity are basically just templates for GameObjects. They are GameObjects that you can store in the project folder, rather than just in a scene. That way, you can easily create new GameObjects from that prefab template. Right click in the project window on the “Assets” folder in the left sidebar, and select “Create”, then “Folder”. Name that folder “Prefabs”. Double click on the prefabs folder to open it in the project window.
To create a prefab, simply drag the “Gem” object from the hierarchy into the newly created prefabs folder in the project window. Once the prefab is created, we can delete the gem from the scene hierarchy, since we'll no longer need it. You can right click on it and select “Delete”. We can also rename the gem prefab to “Blue Gem” and change the gem's color to blue. If you click on a prefab it will appear in the inspector. If you double click, it will open the prefab by itself in the scene view. Let's reset the position, rotation, and scale by right clicking on the word “Transform” and clicking “Reset”. That way, our gem is a square again and not rotated.
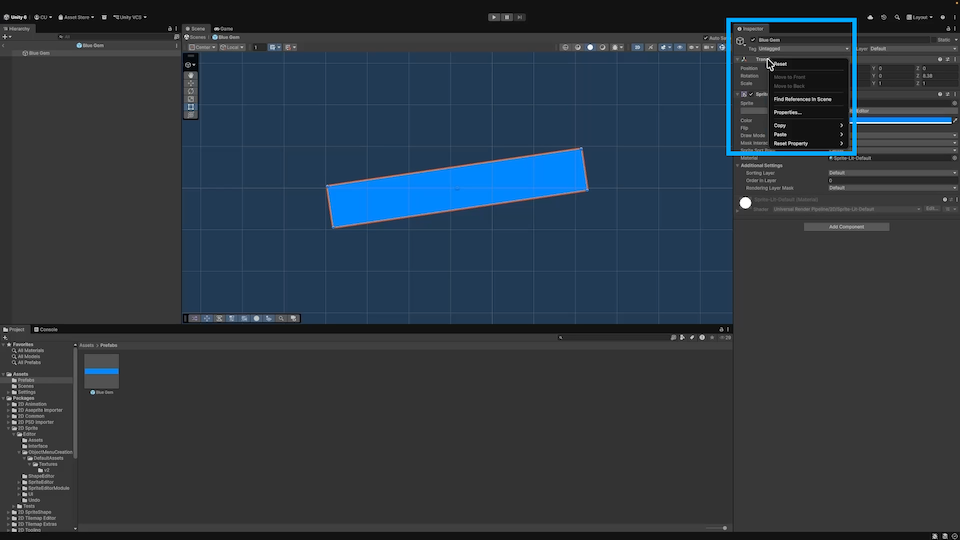
Select the “Blue Gem” prefab in the project window. You can duplicate it using Control + D on Windows or Command + D on Mac. In our case, you'll need to do that to have one prefab per type of gem. We'll have the following colors for gems: blue, green, orange, pink, purple, red, and yellow. Feel free to change the sprite to give more variety as well. The exact colors and sprites don't matter for right now, since we'll use the actual gem graphics later.
To save your work, click “File”, then “Save”, or just press Control + S on Windows and Command + S on Mac. You'll want to save your work frequently to make sure if something happens, you don't need to redo a lot of work. If the scene name in the hierarchy has an asterisk, the scene hasn't been saved yet since you last made changes to it. If you make a mistake, you can undo with “Edit - Undo” or Control / Command + Z, and redo with "Edit - Redo” or Control / Command + Shift Z.
Our next step in the journey will be programming a grid of gems to appear. I'll cover the basics of C# along the way and introduce concepts as we need them. Until then, God bless, and try to familiarize yourself with the parts of Unity that we just covered. Rewatch parts of this video as needed to make sure you understand it all, and feel free to ask any questions in the comments section.